I am currently obsessed with using silicone molds when I make eggs for breakfast to create an ever-changing cast of characters that brighten up the breakfast table. As you’ll see on this page, I’ve collected a variety of mold shapes and I decorate around the eggs the way I used to drag metal filings around the Wooly Willy toy when I was a kid How can you NOT start the day off right when you’re greeted with frivolity on your plate? Eggs with personality! You were missing out and didn’t even know it!
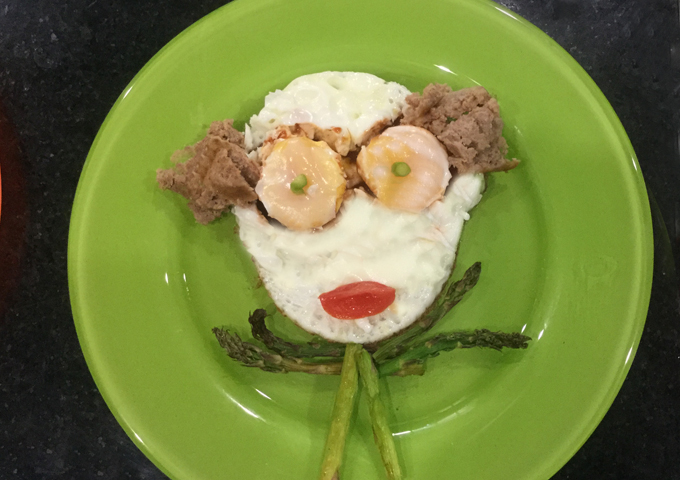
Let me show you a few more of my eggstremely fun eggs before I give you my tips for successfully using the silicone molds to easily create them. The one pictured above is made using Ozera’s Purple Smile Face silicone egg mold ring. The lips are pieces from a cherub tomato. The hair is crumbled, cooked sausage. The bow tie is fashioned from grilled asparagus (left over from the previous evening’s dinner). Little slices of green onion dot the eyes.
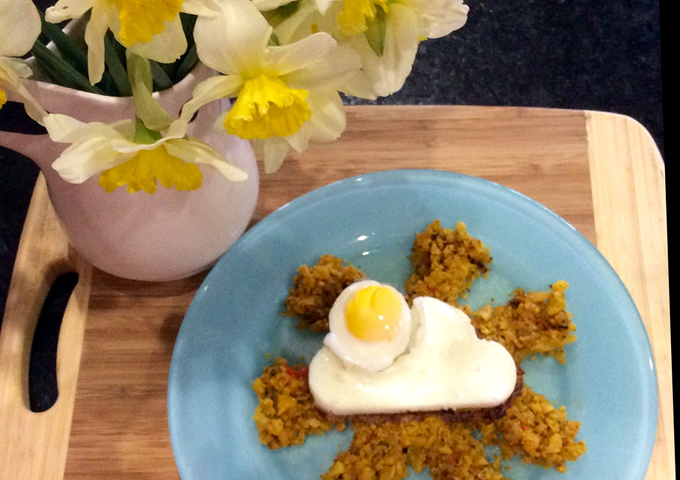
The sun and cloud mold used above came as part of the set with the little guy in the previous picture. I made “sun rays” to go with it by grating some cauliflower, frying it in olive oil with a little diced onion and yellow pepper, and flavoring it with salt, pepper, garlic powder, and lots of turmeric.
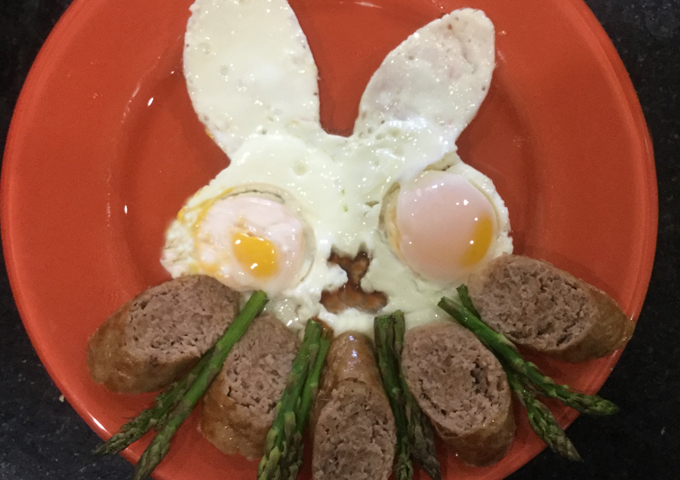
Our bug-eyed bunny is dressed up with diagonally sliced pieces of Italian sausage and pieces of asparagus. In the opening where his nose is, we’ve put a healthy dose of chipotle hot sauce.
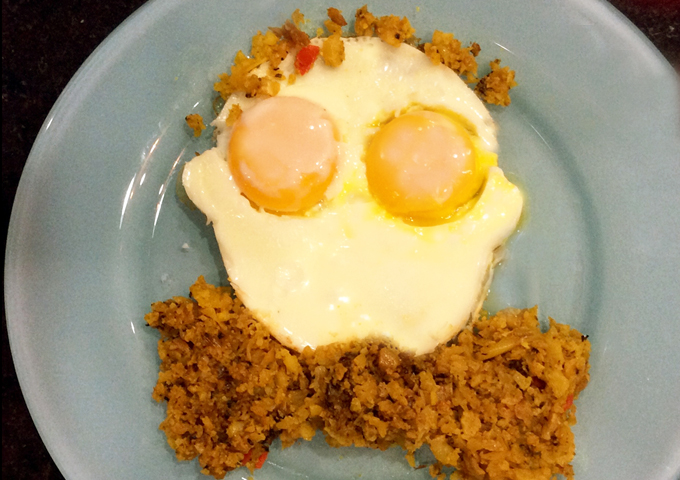 This little dude has the fried caulifower for both his hair and his bow tie. He looks like he’s ready to go for a job interview. Very distinguished, and makes good eye contact.
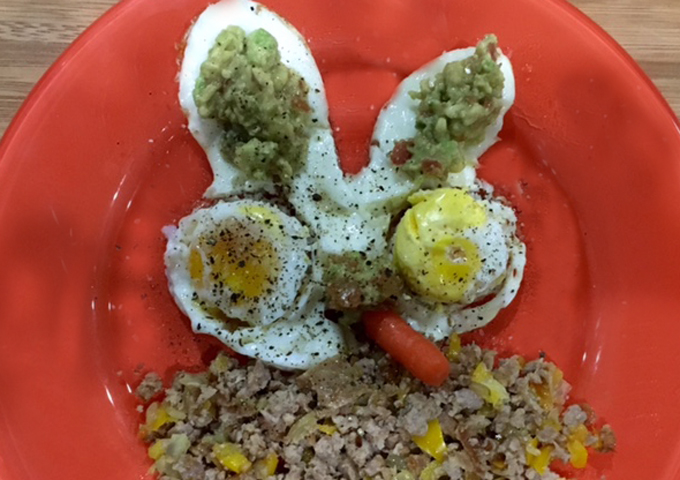
This little bunny was all kinds of tasty, but the salt and pepper make him look like he is suffering with a rash. No matter! With guacamole lining his pointy ears and a steamed baby carrot hanging out of his mouth, he’s ready to eat! I whirred some of the Italian sausage with sauteed yellow pepper and onions for his “shirt.”
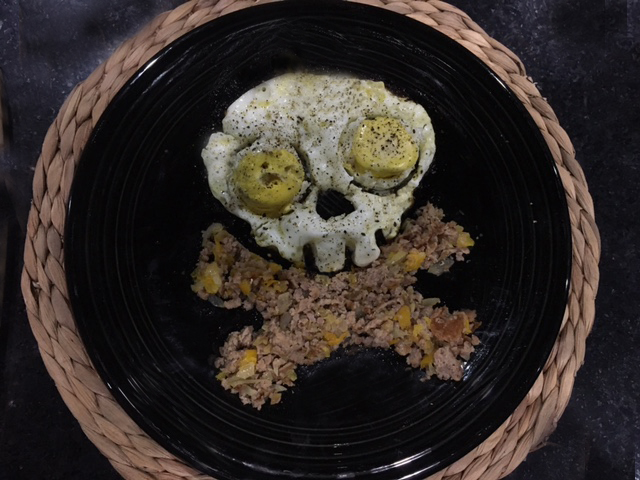 For the pirate loving breakfast eaters, I give you skull and crossbones! This was made for a friend who does not like any runnyness to his yolks. The hard-cooked yellow orbs make the skull even more serious-looking.
It has been so much fun to play with different mashups, and I want to give you the benefit of what I learned by experimenting. Try using slices of strawberries, sausage links, salsa, ham, pieces of bacon — anything you would eat with eggs — to decorate them.
Directions for making eggsciting eggs:
- Have your garnishes and accompaniments ready. Even arrange them on the plate ahead of time, so when your eggs are ready, you can plate them up and serve. You don’t want your eggs growing cold while you are fiddling around, do you?
- Use a nonstick skillet.
- Spray the silicone mold with a little olive oil nonstick spray before each use.
- Use large or extra large eggs. If you use anything else, you will find you have to use additional egg white from another egg to be able to fill the allotted space within a mold.
- Heat up the skillet and coat the bottom with a thin layer of olive oil.
- Make sure you have your molds set up the right way. If you examine them, you will notice that when they are placed correctly in the skillet, the silicone from the eyeballs area will not touch the skillet. There will instead be space underneath the eye sockets. Be sure that is the way you put your molds in the skillet. I ran across some bad reviews on the molds — people saying they couldn’t get the results shown in the product descriptions. I guarantee it was because they were not using them correctly. The molds are brilliant!
- Carefully crack each egg and position it over an eye hole. Slowly allow the egg white to pass through the hole and into the other space within the mold, then let your egg yolk neatly occupy the eye hole space. Repeat with the other eye. Try not to slop any egg on the top of the mold, as that makes it less pretty in the end.
- Use a small lid over the eggs to allow the heat and steam to build up and cook the eggs more quickly than if you kept the pan open to the air. Remove the skillet from the heat when the egg has reached your desired degree of doneness.
- Use an ordinary table knife to trace around the egg within the mold to gently loosen it from its bounds. The mold should then be able to be easily lifted off and you can slide the egg onto your plate with the help of a spatula.
- Smile. I mean, how can you not?


Leave a Reply