In a previous column in our Basics section, I explained how to throw a soup exchange. It’s a truly wonderful thing that involves having multiple persons each cook a single huge batch of soup, then exchanging them so that each person goes home with a variety.
Sometimes, however, it’s just not possible to coordinate other cooks and get a soup exchange going. When that’s the case, I do a soup exchange with myself!
I start from the premise that making multiple batches of soup involves some steps that are done for more than one kind of soup, so there are efficiencies to be gained. Plus, the kitchen is going to get trashed and you’re going to be in it for hours, so you might as well make multiple batches and have more to show for all that time and effort.
On a recent Saturday, I made 8 batches of soup and froze 40 quart bags full. I am ready for winter, baby. Bring it on!
The types I made were as follows:
- Broccoli Cheddar
- Portobello Mushroom
- Chicken and Vegetable
- Curried Pumpkin Carrot
- Butternut Squash (with pureed cauliflower)
- Creamy Leek
- Black Soy Bean with Smoked Sausage
- Beef Stew
Two days in advance, create your shopping list and accumulate your ingredients. Be sure you get plenty of stock of all types — beef stock, chicken stock, vegetable stock. (I particularly like the ones from my friend Bob Warden with the Great Chefs International brand.)
A day or two in advance, you can:
- Clean the celery and cut the ends off
- Clean and peel the carrots
- Caramelize a bunch of onions
- Cut up other onions
- Clean and chop the broccoli
- Clean and slice the leeks
- Clean and chop the mushrooms
- Cook a bunch of bone-in, skin-on chicken breasts in a crockpot
- Pierce and microwave your butternut squash
- Wash and chop your cauliflower, boil until fork tender, then throw it into a colander and press as much liquid out as possible
On soup-making day, I use the Ninja (you could use whatever food processor you have, or chop by hand) to mince a bunch of celery, onions, and carrots. I saute the mixture to use for the Broccoli Cheddar soup, Chicken and Vegetable, and the Black Soy Bean.
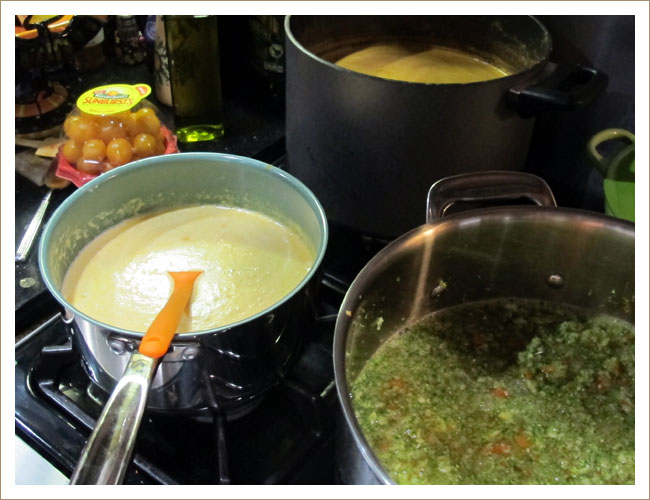
One other thing I should note. You need pots. Lots of big pots. Borrow extras, if you need to. (Promise ’em a bag of their favorite soup!)
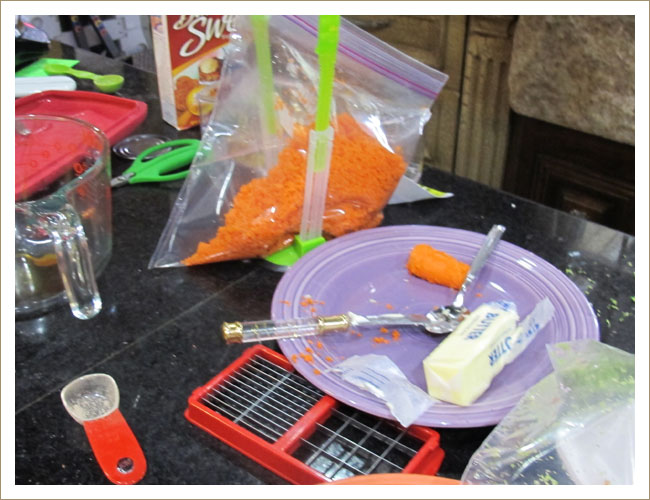
The Ninja makes quick work of mincing carrots and other vegetables. My handy bag holders allow me to transfer into bags without having a human helper.
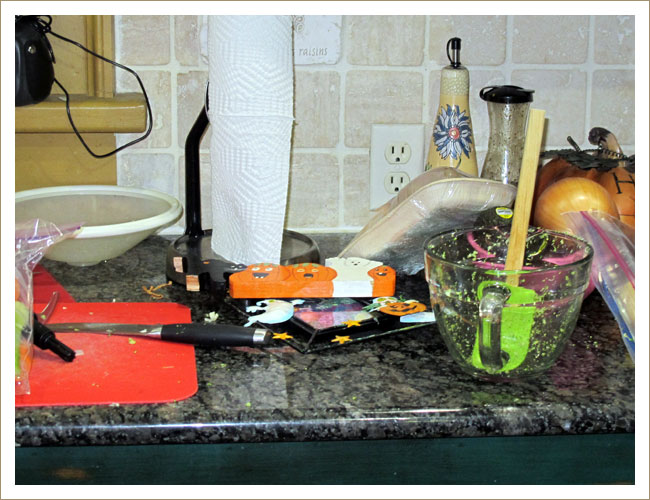
Mentally prepare yourself for your kitchen to be a wreck during the day you’re doing this. Comfort yourself with the thought that you will only need to sweep and mop your floors once after the project is complete.
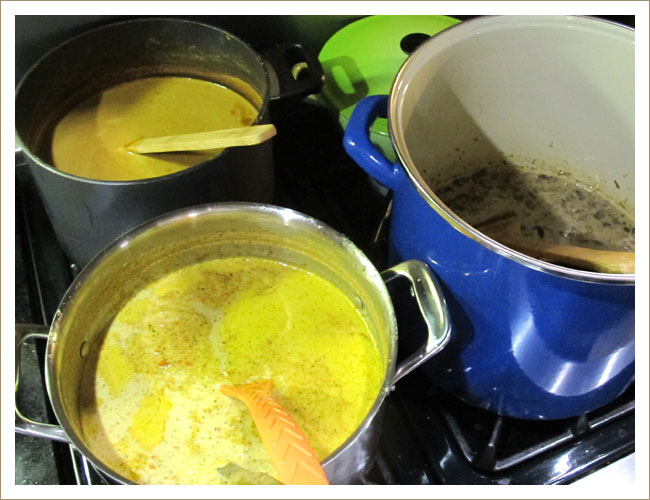
You will need plenty of long-handled silicone or wood stirring implements, too.
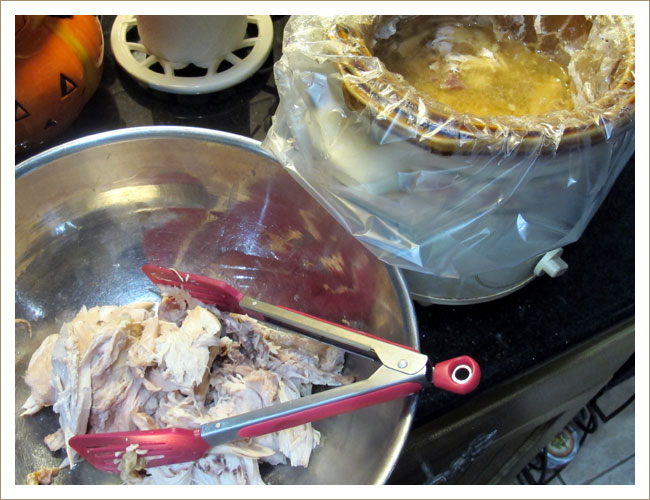
What would I do without my TONGS? I use them to get the chicken out of the crockpot. Then I strain the liquid that’s left so I can use it, too. See the crockpot liner? Once the meat is out, I am able to pull the liner out, position it above a strainer propped across a bowl, snip a corner off, and let the liquid drain out through the corner, through the strainer, into my bowl. Genius!
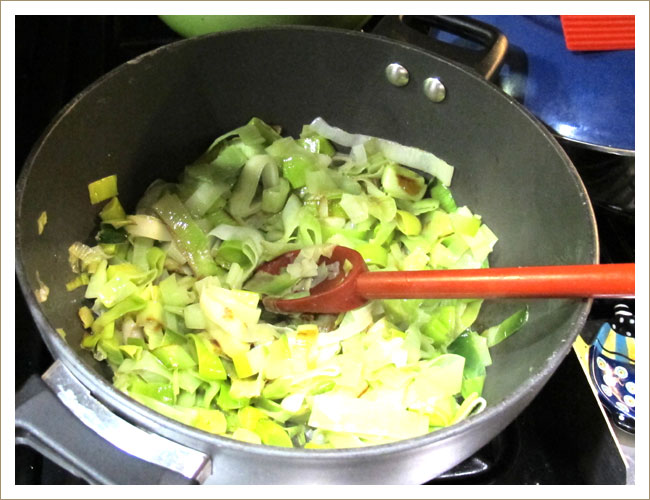
Leeks take a long time to cook down. Start early. Melt your butter, throw in your leeks. Cook…and cook…and cook.
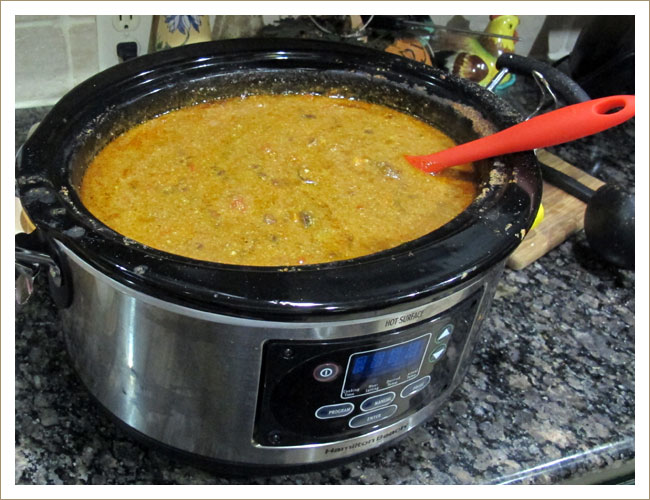
Black soy beans are lower in carbs than other beans. I started with sauteed minced carrots (lots), celery, onions, garlic and peppers. I added my black soy beans, draining most cans, but using the liquid from two. I added my smoked beef sausage, lots of beef stock, cumin, cayenne, onion powder, and cooked low and slow for hours.
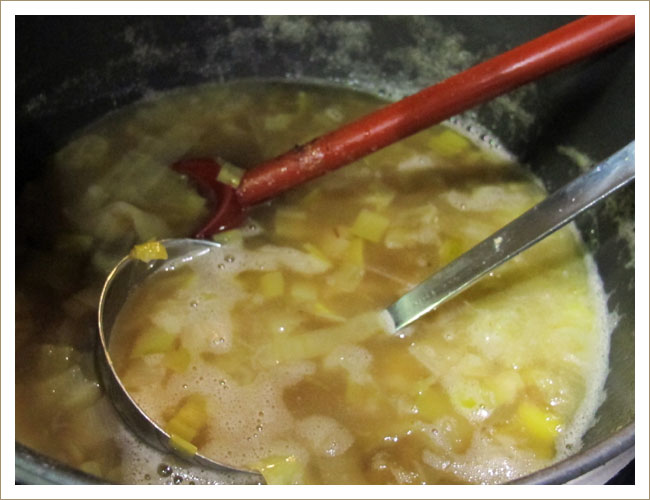
See how much the leeks cooked down? This shows them after being cooked and after the vegetable stock has been added.
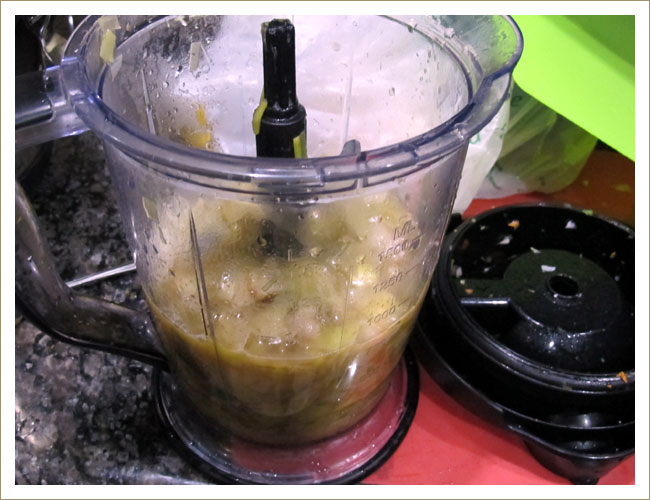
When one is cooking low carb, one does not add flour or cornstarch to soups (or anything else, for that matter). To give my soups body, my secret is to scoop out about 1/3 of the soup mixture and put it in my Ninja (or a regular blender) and blend it. It makes a thick bit of stuff to be added back to the soup pot.
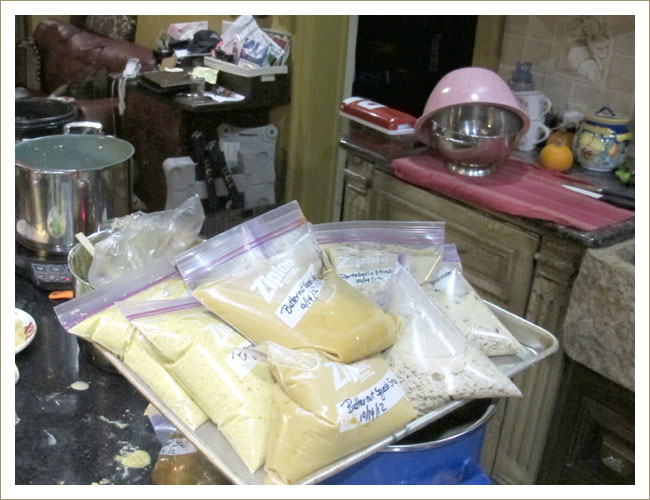
This is the nirvana part. Where the cooking is down and the freezer bags start to be filled. Tip: Label them before you fill them. They are easier to write on with your Sharpie when they are lying flat.
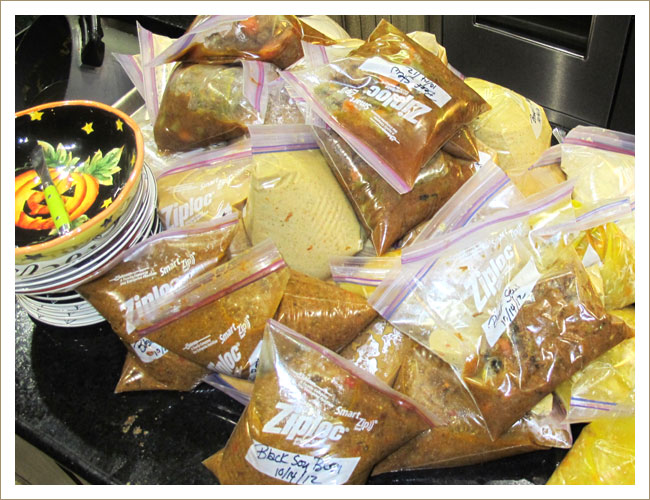
Isn’t this a glorious sight? It makes me think of cold winter nights and hot bowls of soup.
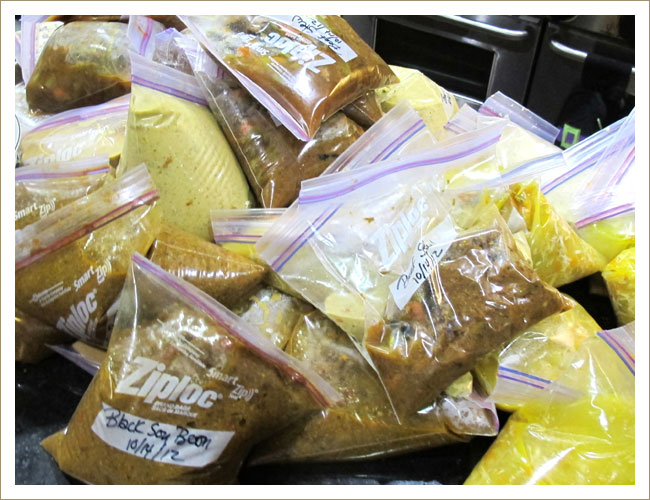
When you actually put these into the freezer, lay them flat like jolly envelopes. I also segregate them by kind, so that if I want a particular type, I don’t have to hold the freezer door open a long time while I root around, trying to find it.
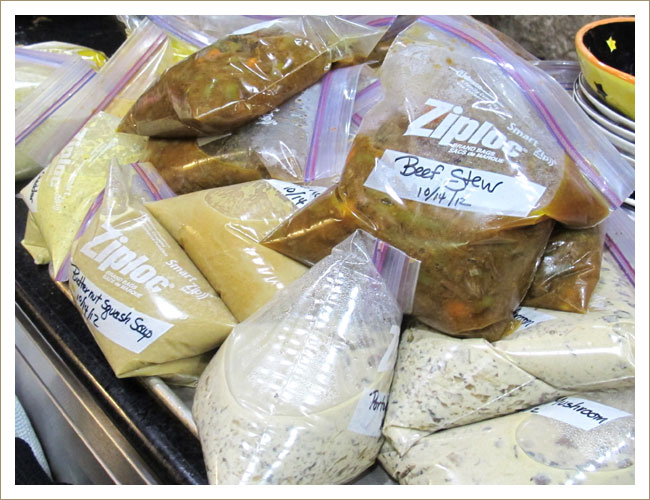
You don’t want a lot of air in your bags. On the other hand, don’t overfill them with soup. The soup seems to expand when it freezes and if it doesn’t have room to grow, it will split your bags.
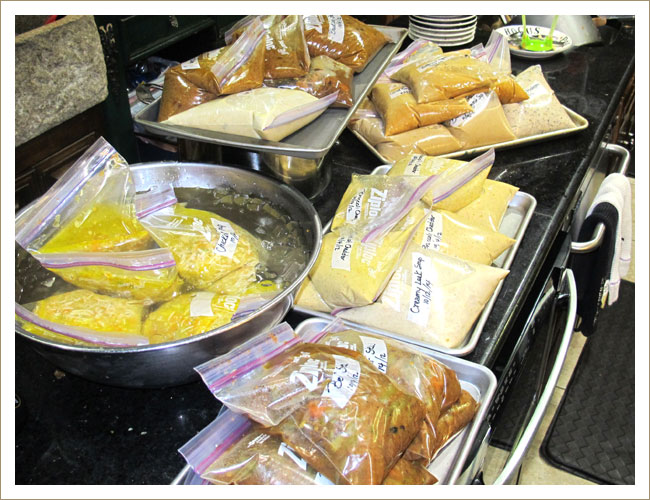
Neatness counts.
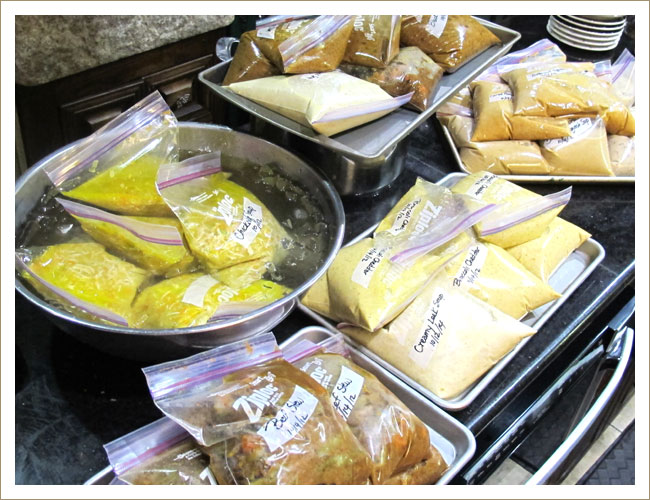
Can you believe this is just PART of what I whipped up in one day? BTW, one quart bag will provide four bowls of soup.
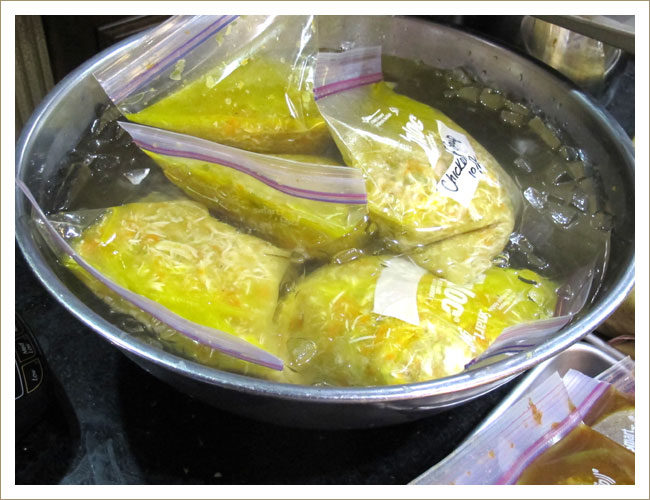
One more tip — and this one is really important. You don’t want your soups to languish at room temperature while they cool. On the other hand, you don’t want them to go into the freezer or refrigerator while hot, because that will raise the temp inside your fridge or freezer and that is not a good thing. Here’s what I do. I have a set of large stainless steel bowls (If you don’t, go buy some. They are a lifesaver. I don’t care if you have to store them under the bed to have space. You need them.) and I fill the bowls with ice water. I place the too-hot bags of soup into the icy water and quickly cool them down. THEN I head to the freezer.
Set aside a day to make your favorite soups and stock your freezer. You’ll thank me when the temperature drops!
Stay tuned for the next lesson!


Leave a Reply