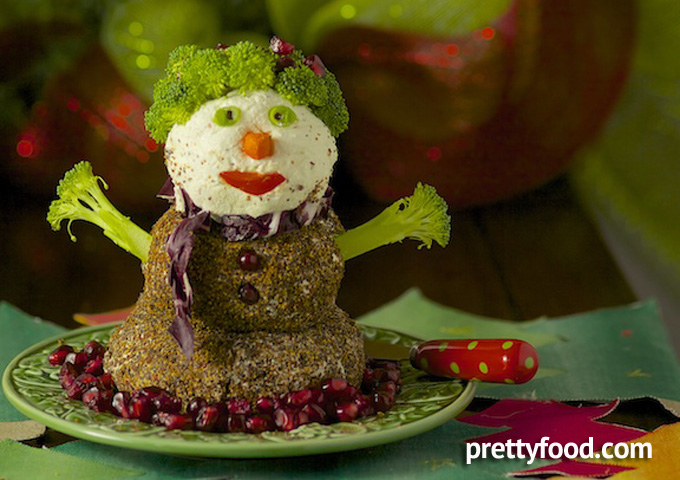
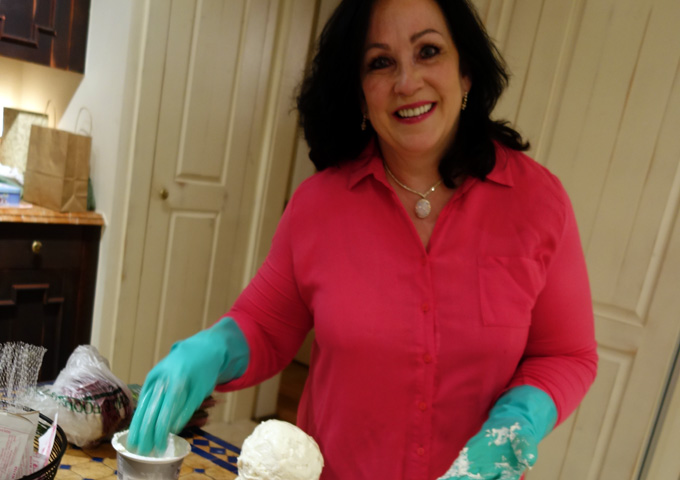
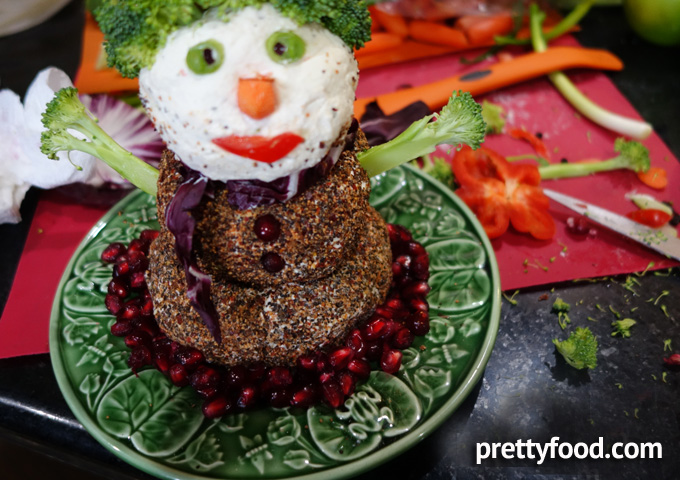
When is the last time you took a cheese ball to a party that elicited squeals of delight? Well, pilgrim, that’s too long. The last thing you want to do is serve a boring cheeseball, right? Celebrate the little kid in all of us by fashioning a snowman cheeseball — or a member of his family. Choose a gender, choose a size, craft a snowman cheeseball that is awesome enough to be party food, yet simple enough to whip one up for your crew at home. Let’s begin by showing you the family members we created. That’s Matilda up above with the cute hair.
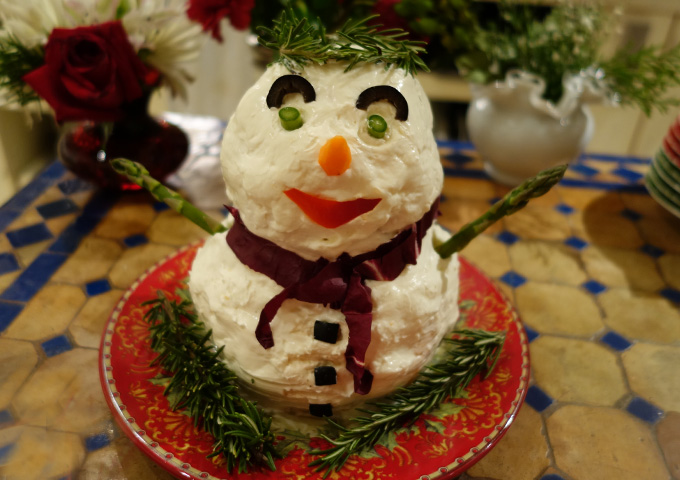
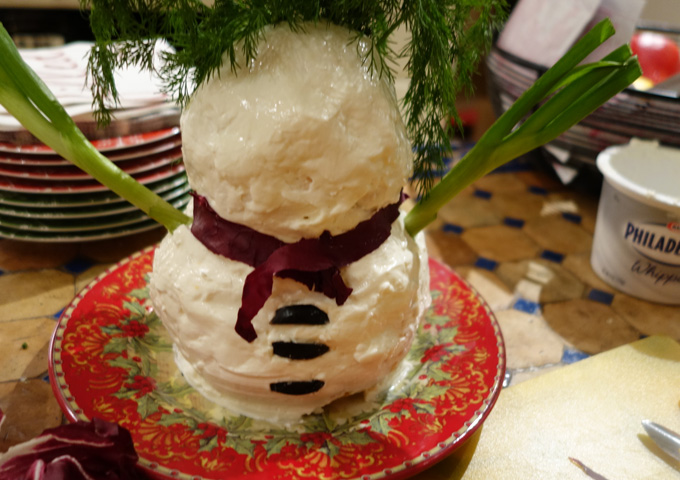
This is Floyd, all spiffy in his winter white attire.
This one reminds me of Julius Caesar a bit, with the whole headpiece thing he has going on. Size-wise, he’s a little smaller, so we’ll call him Little Mikey.
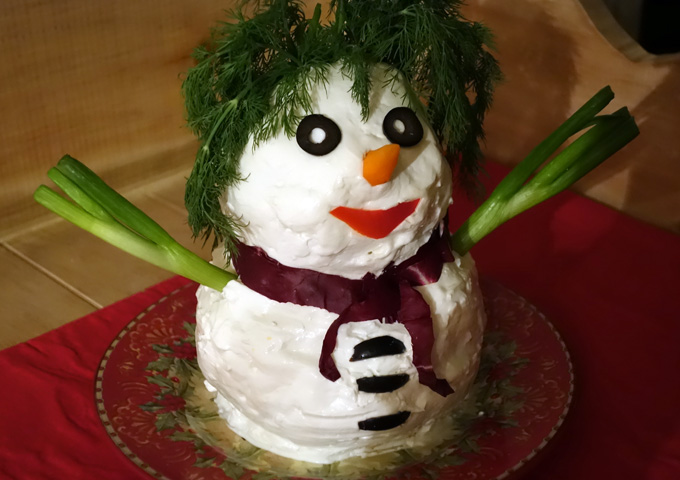
Meet his sister, Little Sally. Great hair, huh?
There is one HUGE difference between the first two cheeseballs and the last two. The first two were super simple to make; while the second two were not. To create something like the first two cheeseballs, depending upon how big you want them, you either use four 8 oz. packages of cream cheese, mixed with 2 packages of dry Good Seasons Italian Dressing mix, or you cut that in half and use two 8 oz. packages of cream cheese with 1 package of dry Good Seasons Italian Dressing mix. Roll into either two or three balls, one larger than the other (or, if you are using 3, big, bigger, biggest), wrap in wax paper or plastic wrap, and place into the refrigerator to firm up. I made Matilda’s “clothes” by rolling the two bottom balls in seasoned pepper (a technique I learned from my friend Carolyn Herr). Those who like it a little spicy can partake of the bottom part, while those looking for a mild, smooth taste can go for the head.
Decide ahead of time which look you like best — the 2 ball look or the 3 ball look. In retrospect, I think I would vote for just two balls. Cuts down on the work, too!
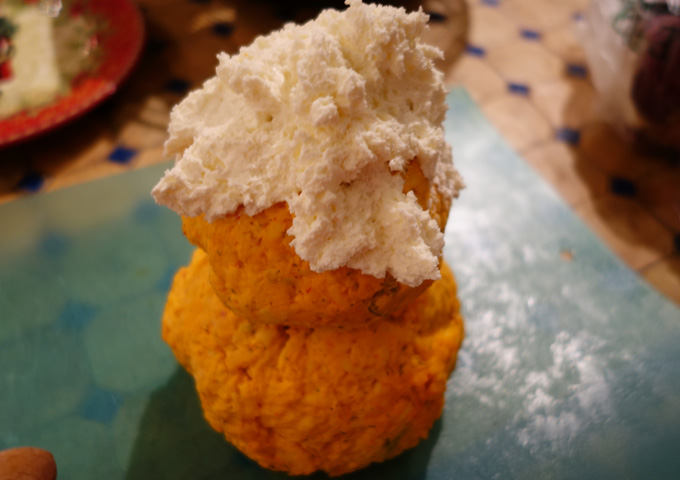
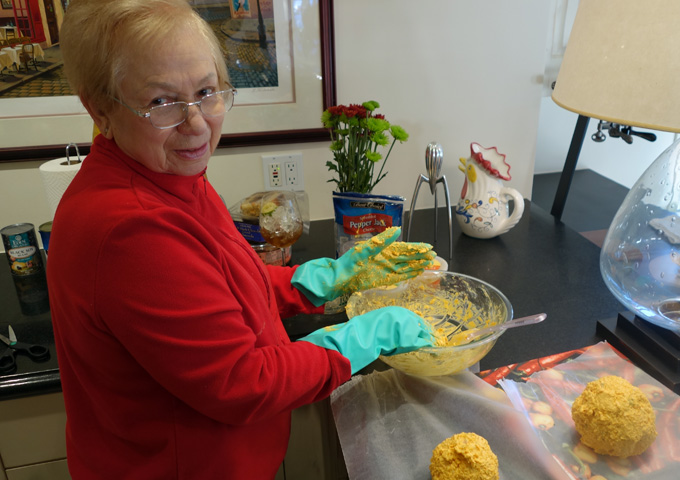
So, speaking of work, why did I say the first two were much simpler? The bottom two were a pain in the patoot because we started with cheese balls that were orange (lots of cheddar in them), then “iced” them with whipped cream cheese. Can you imagine?
I can! Shirley and I slaved over them, trying to get the cream cheese on the outside as smooth as possible.
I even resorted to dipping my gloved fingers into a water bath, treating the cheese balls like clay being molded. It only took doing that technique on two cheeseballs for me to say “This is nuts! There has to be a better way.” And there is!
Shirley agreed completely. Using the cream cheese/Good Seasons mixture — so that your snowman cheeseball both starts out and ends white, is the best way to proceed.
In terms of putting the little darlings together, you have to decide what you want to decorate them with. Here are a few possibilities for hair:
- Rosemary
- Broccoli
- Cauliflower (you could even make a Santa “beard” with cauliflower pieces)
- Fennel fronds or dill frills (although if I used either one again, I would probably use very small pieces, rather than the large ones I plopped onto one of the heads)
- Crushed crackers applied to the part of the head where hair would grow
- Mohawk made from tortilla chips or crackers
- Almonds placed upright in the scalp area to mimic a flattop (guy snowman cheeseballs only!). In fact, you could use whole almonds, almond slices, or even pecan halves for hair creation.
Go open your vegetable and fruit drawers in your refrigerator and find inspiration.
For the facial expressions, try:
- Sliced green onions or sliced olives (for the eyes) — and try putting black peppercorns in the middle of each one
- Peppercorns would also work for the eyes by themselves, but only if you are making a very small snowman cheeseball — otherwise he’s going to be too beady-eyed
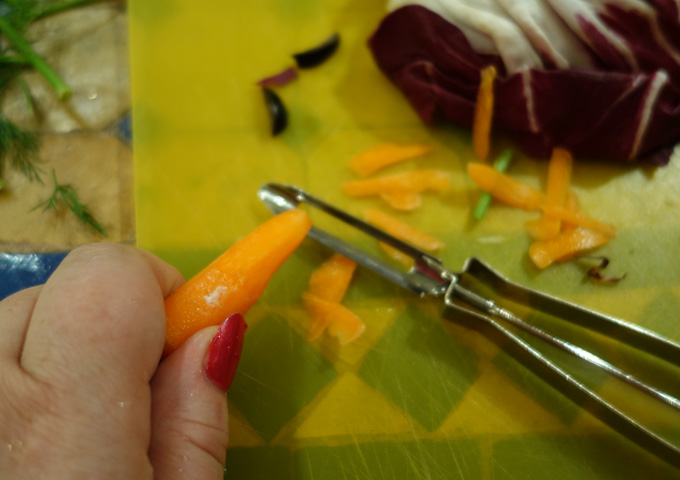
- Carved baby carrots for the nose (just whittle it into shape with a vegetable parer)
- Red pepper, carved into the shape of a mouth
- Curved or straight pretzel pieces for the eyebrows
To decorate the body of your snowman cheeseball, try these tips:
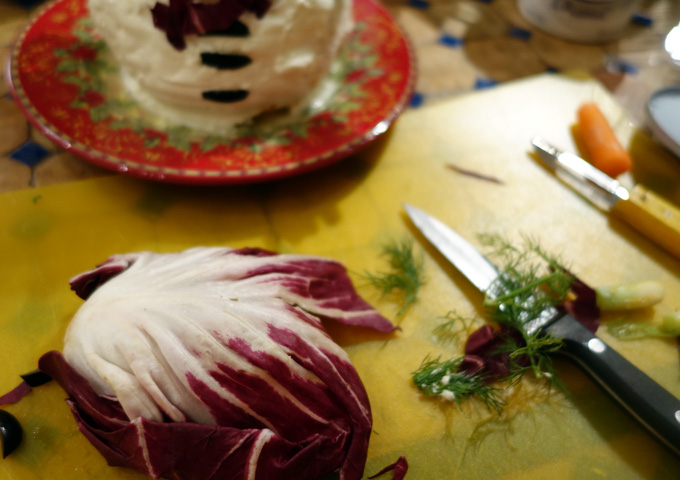
- Fashion a scarf out of radicchio or leaf lettuce. Whatever you use needs to be thin and capable of being carved into a long, continuous piece that will wrap about the snowman’s neck and hang down a bit from each side.
- Make “buttons” from long slices of olive, or use capers, peppercorns, or pretzel pieces.
- Pomegranate seeds will also work.
- Don’t forget the arms! You can use green onions, thin slices of broccoli spears, or even pieces of asparagus.
Liberally garnish with whatever you have handy. (Well, not whatEVER. You want what you put on or with your cheeseball to reflect its savory nature and you want it to be edible. Those are the rules.)
The face gives your snowman cheeseball personality, so experiment with what looks best.
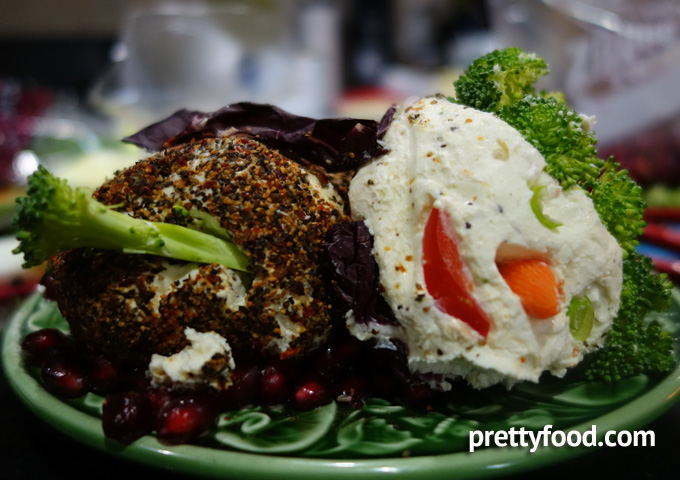
This was the funniest part to me. I served the snowman cheeseball and his snowgal friend at a get-together. No one wanted to disturb their cuteness — but they still wanted to eat them, so they took their scoops of cheese from the backside, over and over until the cheeseball’s structural integrity had been compromised and it fell on its side on the plate. Because of the way part of the eyes had been eaten, the result had a “sleeping beauty” look to it.
We would love to see the extended cheeseball family members YOU create! Send us your pics!



Leave a Reply